Contents [Show]
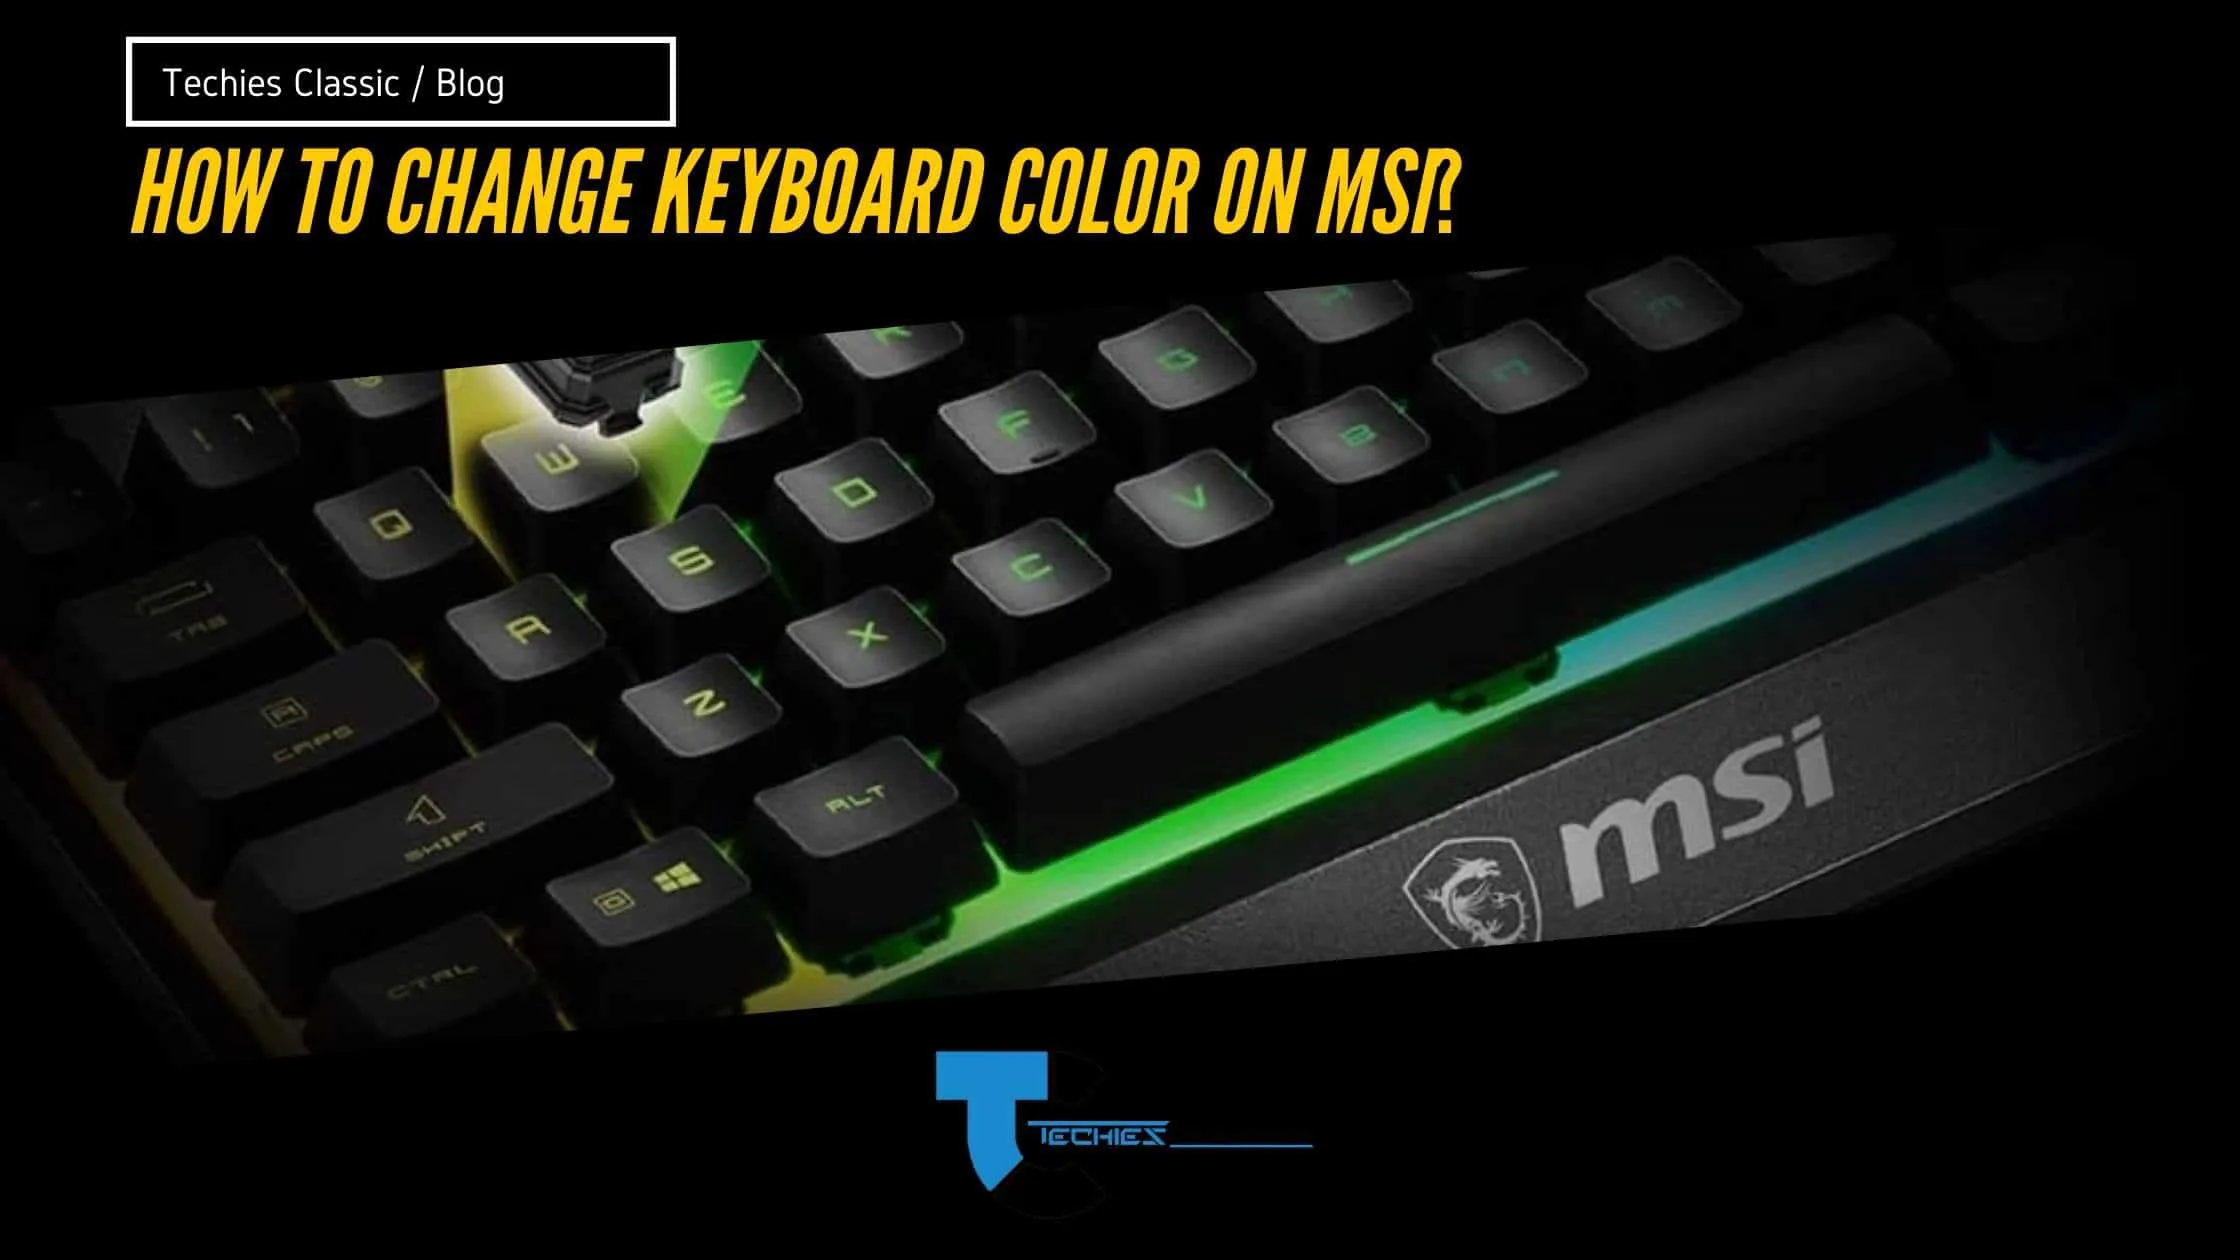
Do you find the default MSI keyboard color too dull? Do you want to customize your Keyboard with different colours and textures? Keep reading. We'll show you how to change the MSI keyboard colour.
How to change keyboard colour on MSI:
Step 1:
Go to Control Panel > Regional and Language Options. On the Keyboards and Languages tab, click Change keyboard.
Step 2:
Under Choose a default keyboard layout, choose the language of your choice. Click Add, under Installed services. Scroll down to Keyboard - Text Services and Input Languages, checkmark on Keyboard and click OK.
Step 3:
Under Installed services, scroll down to Keyboard. Checkmark on Keyboard and click Properties.
Step 4:
Select a language from the drop-down menu under Preferred input language on the Language tab. Select Apply > OK Customize MSI keyboard colour and texture.
Step 5:
To add a skin to your MSI keyboard, click Add under Language for non-Unicode programs. Scroll down and checkmark Keyboard, click OK.
Step 6:
Choose a language from the drop-down list under Input language on the General tab. Under Installed services, scroll down to Keyboard - Text Services and Input Languages, checkmark on Keyboard, click OK.
Step 7:
Under Installed services, scroll down to Keyboard. Checkmark on Keyboard and click Properties.
Step 8:
On the General tab, choose a keyboard layout from the drop-down list under Use this Keyboard. Select Apply > OK. You can also change the colour of the MSI keyboard by clicking Customize…
Step 9:
On the Layout tab, select an image under Type each key in its relative position, or Customize your keyboard layout to type special characters. Click OK.
Step 10:
Once you have successfully installed a skin on the MSI keyboard, you should see another MSI logo under Installed services > Keyboard > Text Services and Input Languages.
Step 11:
Now, to activate the MSI keyboard skin you just applied, click on Layout under Change keyboards… Under Installed services > Keyboard > Text Services and Input Languages, checkmark on Keyboard. Select Apply then OK once done.
Now that you have successfully customized your MSI keyboard with different colours and textures,
How do you ensure your MSI keyboard is working correctly after changing its colour?
If your MSI keyboard is working properly, you must see the same MSI logo under Installed services > Keyboard > Text Services and Input Languages.
You can also check if your MSI keyboard layout has been correctly applied by looking for the new language bar. If it is present, right-click on its icon located at the end of the taskbar. Then, select the language you have applied
If your MSI keyboard isn't working properly after changing its colour/texture, uninstall it via Control Panel, click on Programs and Features > Keyboard. Click on Uninstall under Installed services, then follow the instructions given by the wizard to complete the uninstallation process. After that, install a new MSI keyboard using the installation CD.
How to fix the LED light on your Keyboard not working on MSI?
If you have an MSI GK-601 keyboard and the LED light is not working, try to replace your batteries. You need to replace the battery if it already shows "low battery" or when your LED light blinks even though you did not touch any keys.
Please note that the LED indicator is located at the top right of the MSI logo for some models under Installed services > Keyboard.
If you have MSI GK-701 or 780 keyboards, check if your LED light is working by pressing the FN key together with F9/F10/F11/F12 to activate Adjust backlight, Game Mode, Fan Speed and Cooler Boost.
Conclusion:
MSI keyboards are known to have a distinct colour and texture. In addition to its unique look, MSI offers users the option of customizing it by applying different skins or keyboard layouts via Windows Compatibility mode.
About author

Techies Classic
The above article is written by team techies Classic. We do in-depth research to provide our readers with the value to choose things easier. To read more amazing tech content
0 Comments